Traveling Emails
Tip: This section gives you step by step instructions to create a header, footer, and email template.
You can take a short-cut by simply copying a template that is close to what you want and modifying it.
Remember that we are showing you how to create a template, but you may want your template to look very different. Feel free to experiment and create something unique!
There are a few important concepts in the template designer:
- Grids: You always need to start with a grid. They will provide the structure for your email. There are several different styles to choose from, and you can have as many as you want in a template.
- Widgets: After you put a Grid on your template, drag a widget to start entering content. This may be images, text, icons, etc.
- Controls: When you hover over a grid, control buttons will appear on the right side of the grid. When you hover over a widget, the control buttons will appear at the top of the widget.
Create a Header
- Click Email Templates under the Templates menu item.
- Click Headers.
- Click Add Header.
- Give your header a name and set its status to Active.
- Click Apply.
- Click your header name to begin customizing it.


Customize Your Header
- The canvas is where you will build your headers, footers, and email templates.
- Everything in a template is held in a Grid, and there are several different grid formats you can use.
Each template can have as many grids as needed. - Use Widgets to add content to your template. Widgets will be contained inside grids.
- Your template will default to the most common options, but you can customize it here.
- Placeholders are replaced with data when the email is sent. This might be your contact information or your client's name, for example.
- The other toolbar items are used to customize and format text in your template.
- Begin by dragging a grid to the canvas, here we are using the two column grid.
- Simply drop it on your canvas.
- The blue line indicates where the grid will be placed, which is important when you add your second grid.
- Select the Widgets tab.
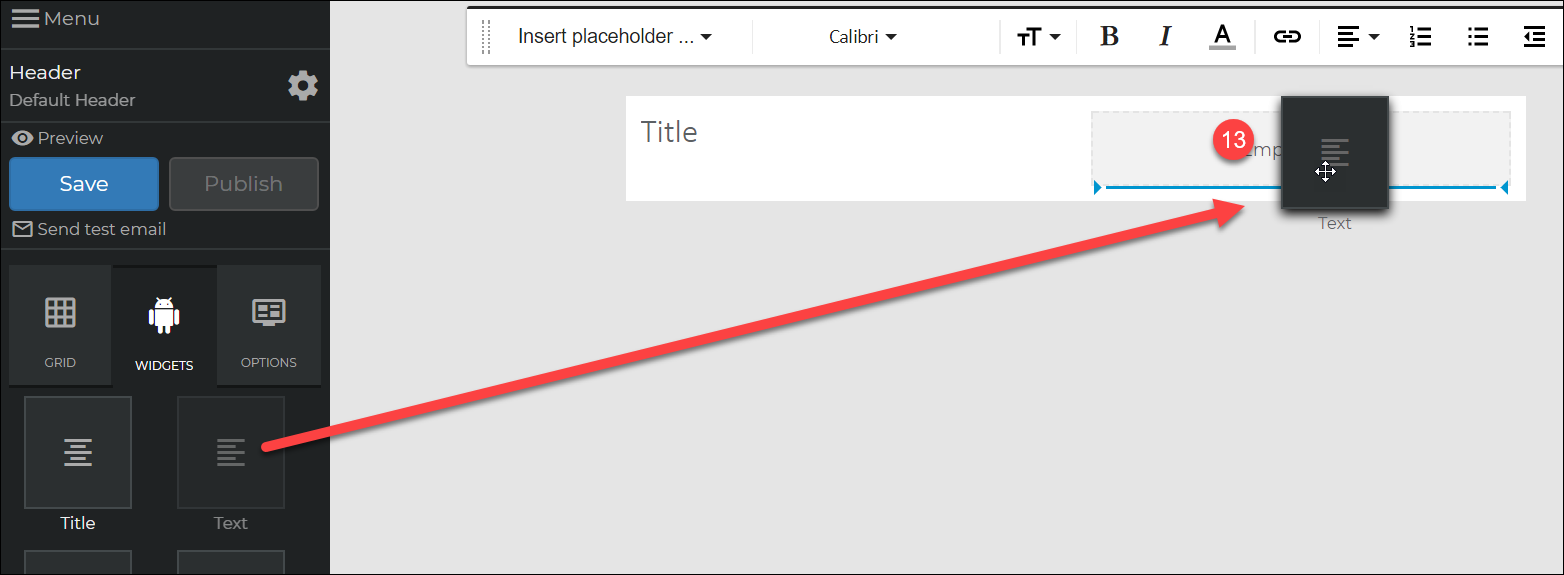
- Drag and drop the Title widget into your first column.
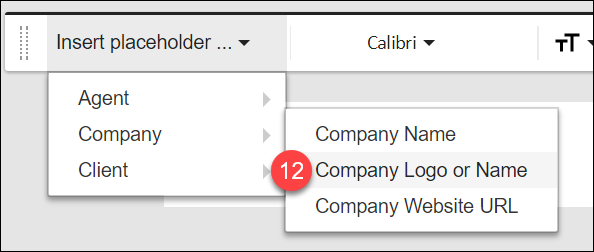
- Select the word "Title" then go to the Insert placeholder menu, under Company, and click Company Logo or Name.
- Drag the Text widget to the right-hand column.
- Select the example text, then go to the Insert placeholder menu and select the contact information you want to include, for example:
[Agent.FirstName] [Agent.LastName]
[Agent.EmailAddress]
[Agent.Telephone]
Then select the text again, click the alignment menu and choose the Right Aligned icon.



Be sure to click Save when you are finished!
Follow the same steps to create a footer.
Create a Template
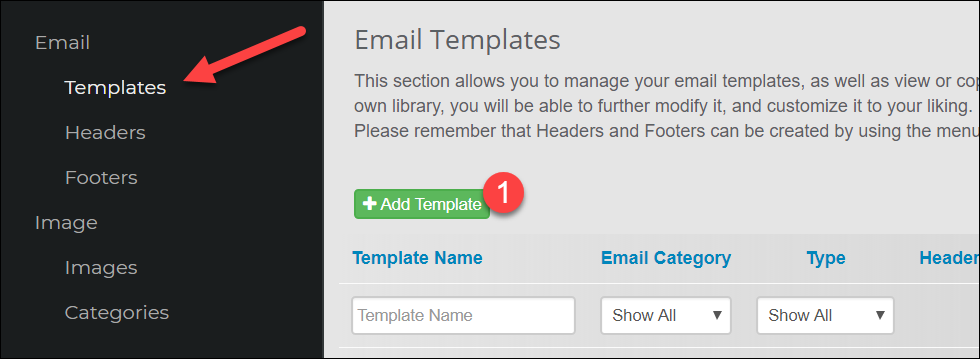
- From the Templates menu click Add Template.
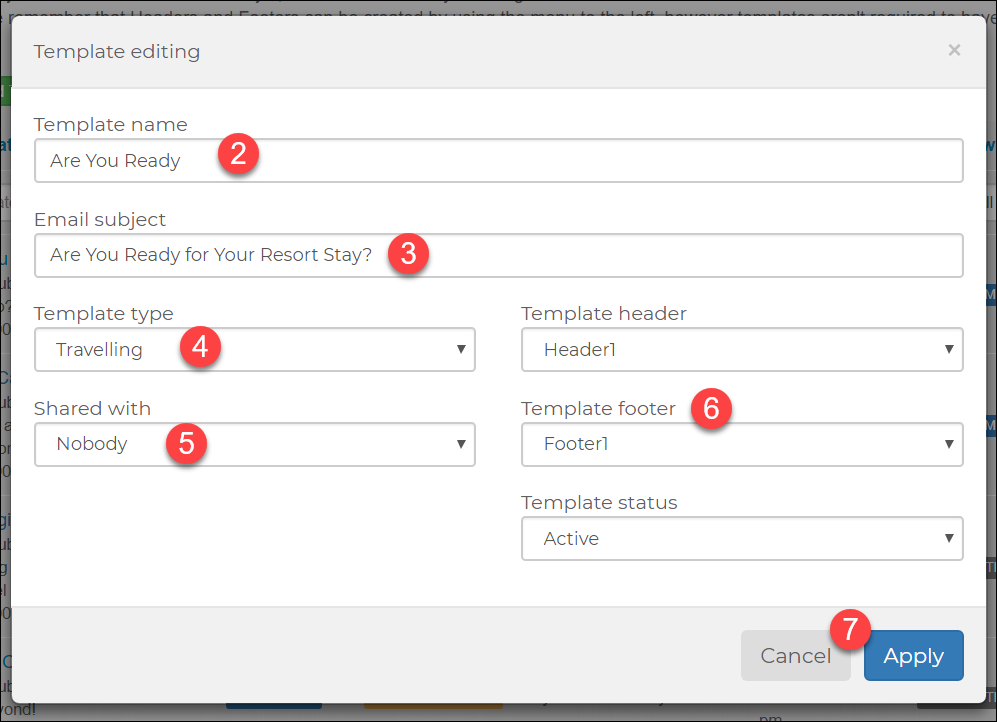
- Name your template; clients will not see this so make it something easy to find.
- Add a subject, clients will see this; it will be the subject of the email sent to them.
- Choose the template type. If this will be related to a trip choose Traveling or Invoice, if it is Marketing choose Client Campaign.
- If you are an admin you can choose to share it with your agency.
- Select the Header and Footer you just created.
- Click Apply to create your template, then click the template name in the list to begin editing it.
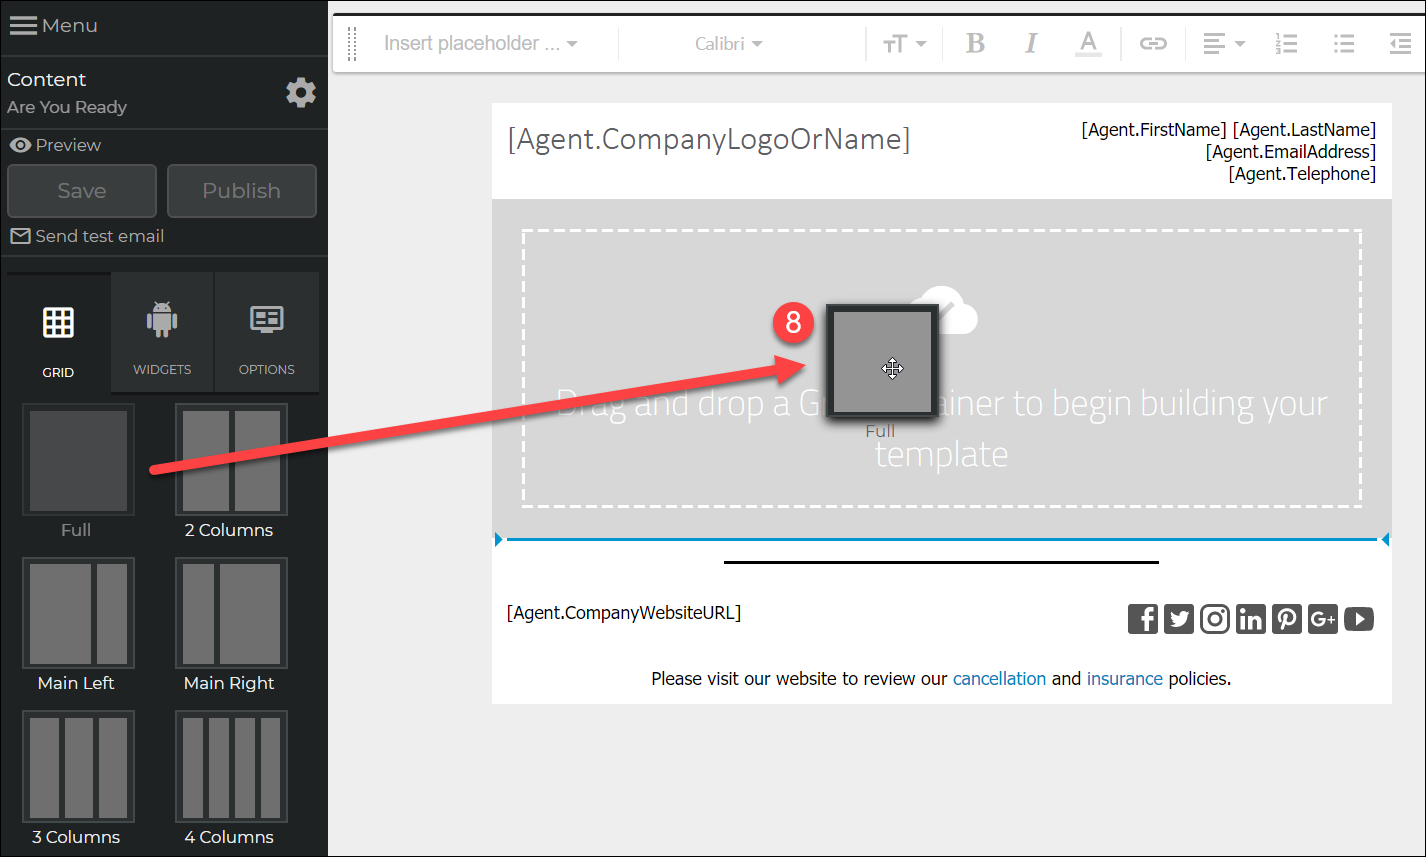
- Start by dragging a full-width Grid to your template for a cover photo.
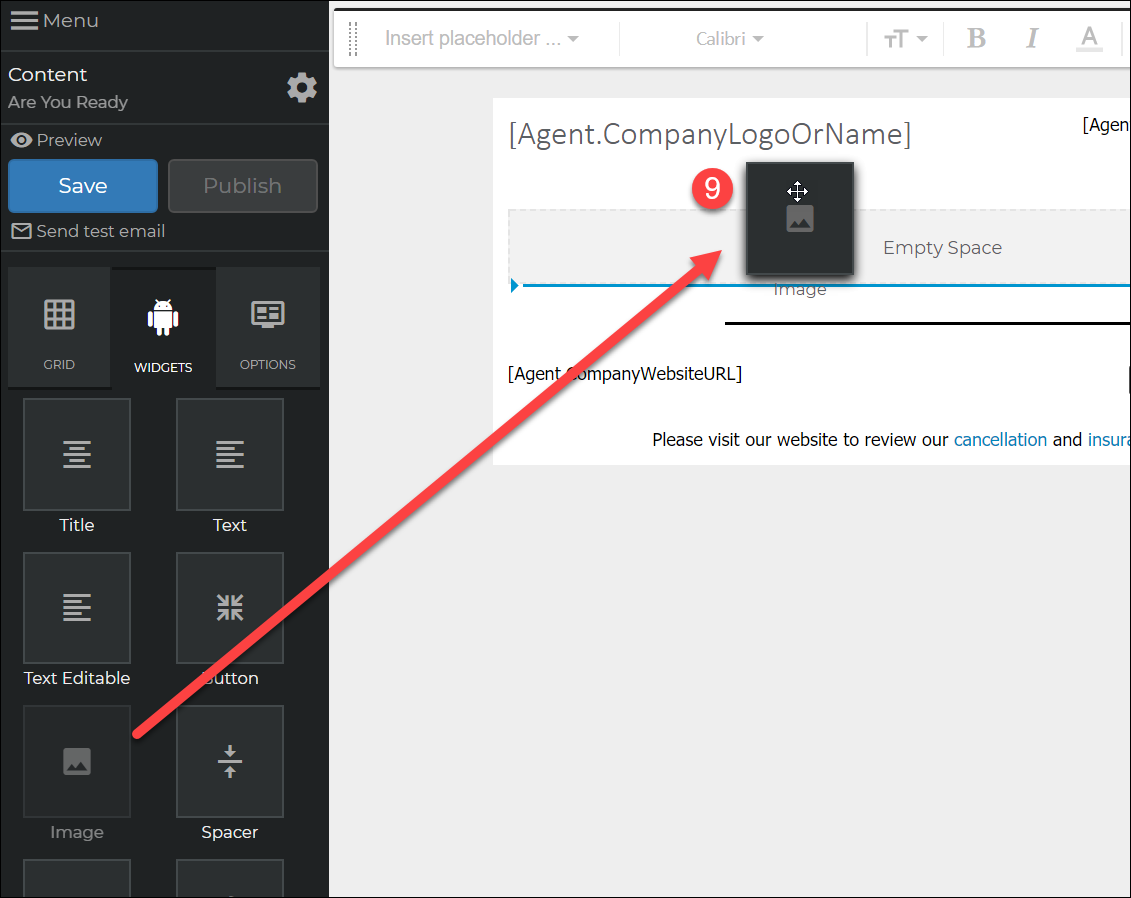
- Click the Widget tab then drag an Image Widget to your grid.
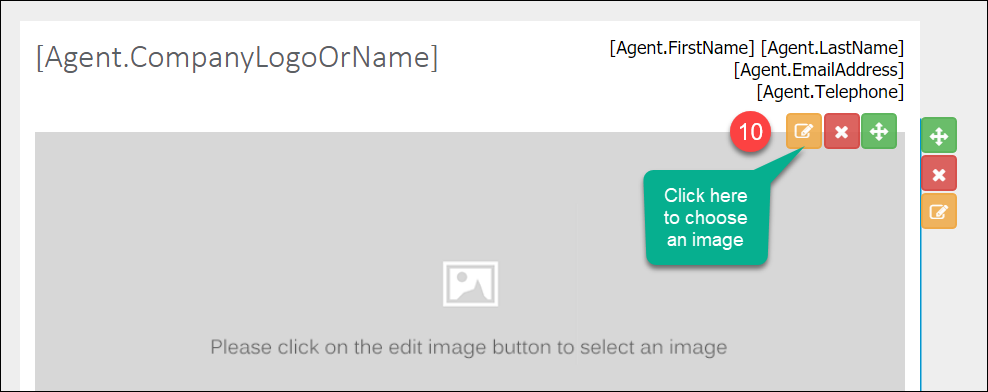
- Click the widget edit button to choose an image.
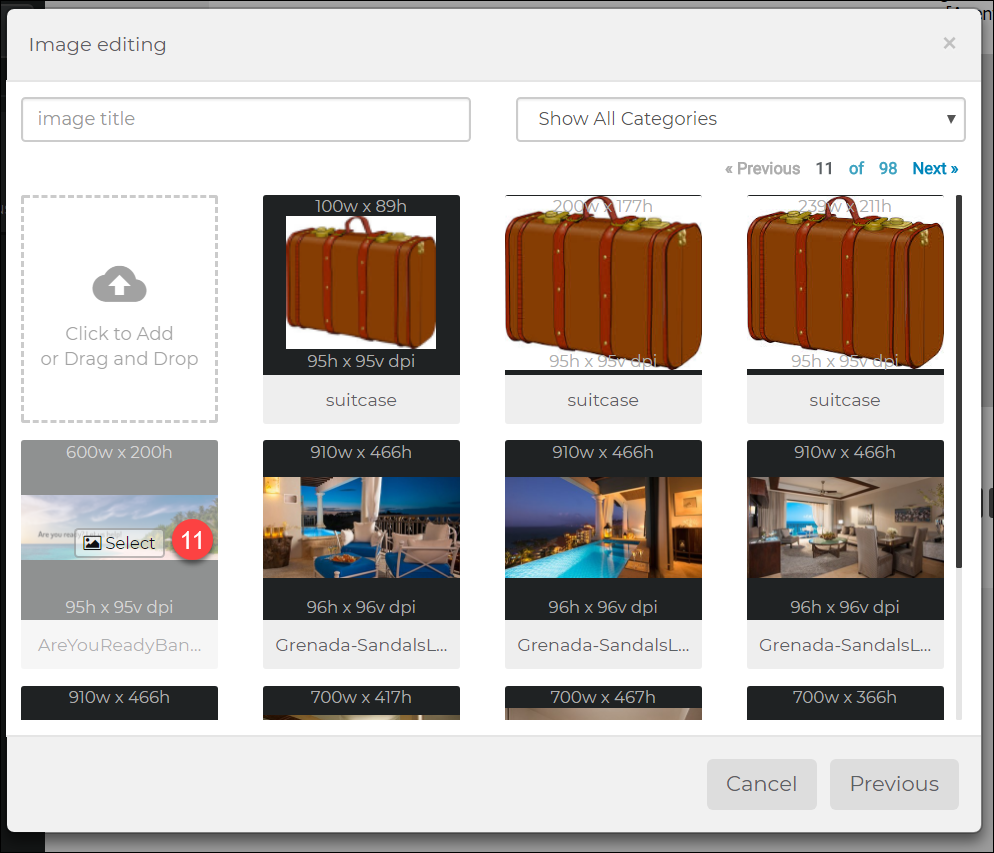
- Click Select under My Images then hover over an image and click Select.
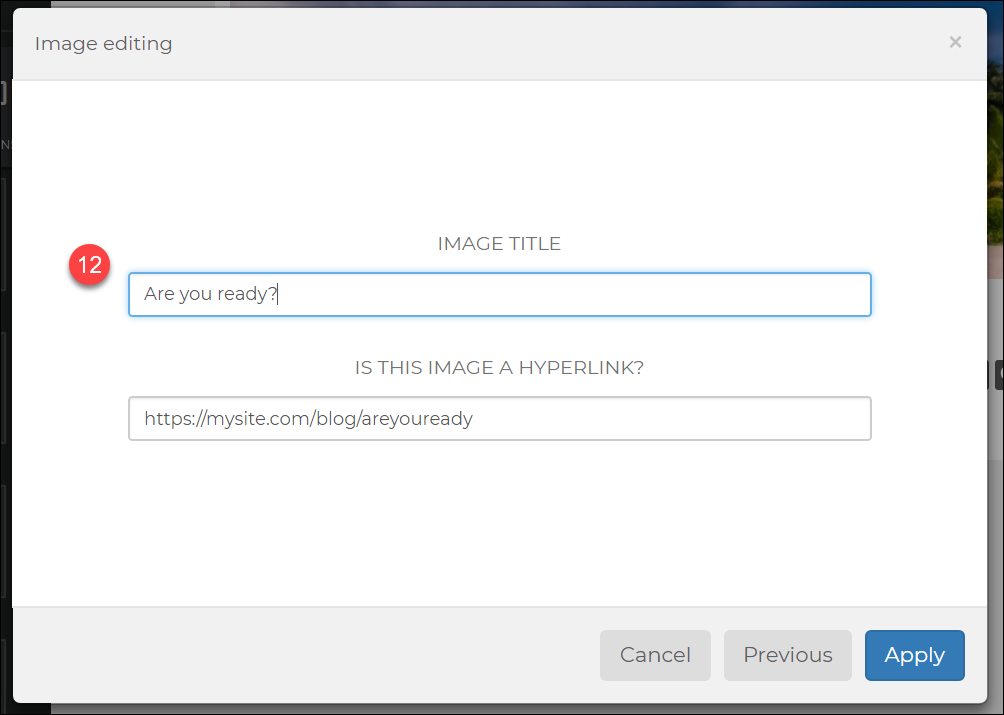
You can drag and drop additional images inside the dotted line to add images. - Add an image title; this is important for email programs that do not load images, and for visually impaired clients who use screen readers.
If you want the image to be a link back to your website, add a URL. For example, you may have a blog post that covers this same topic, or a form you want them to fill out.
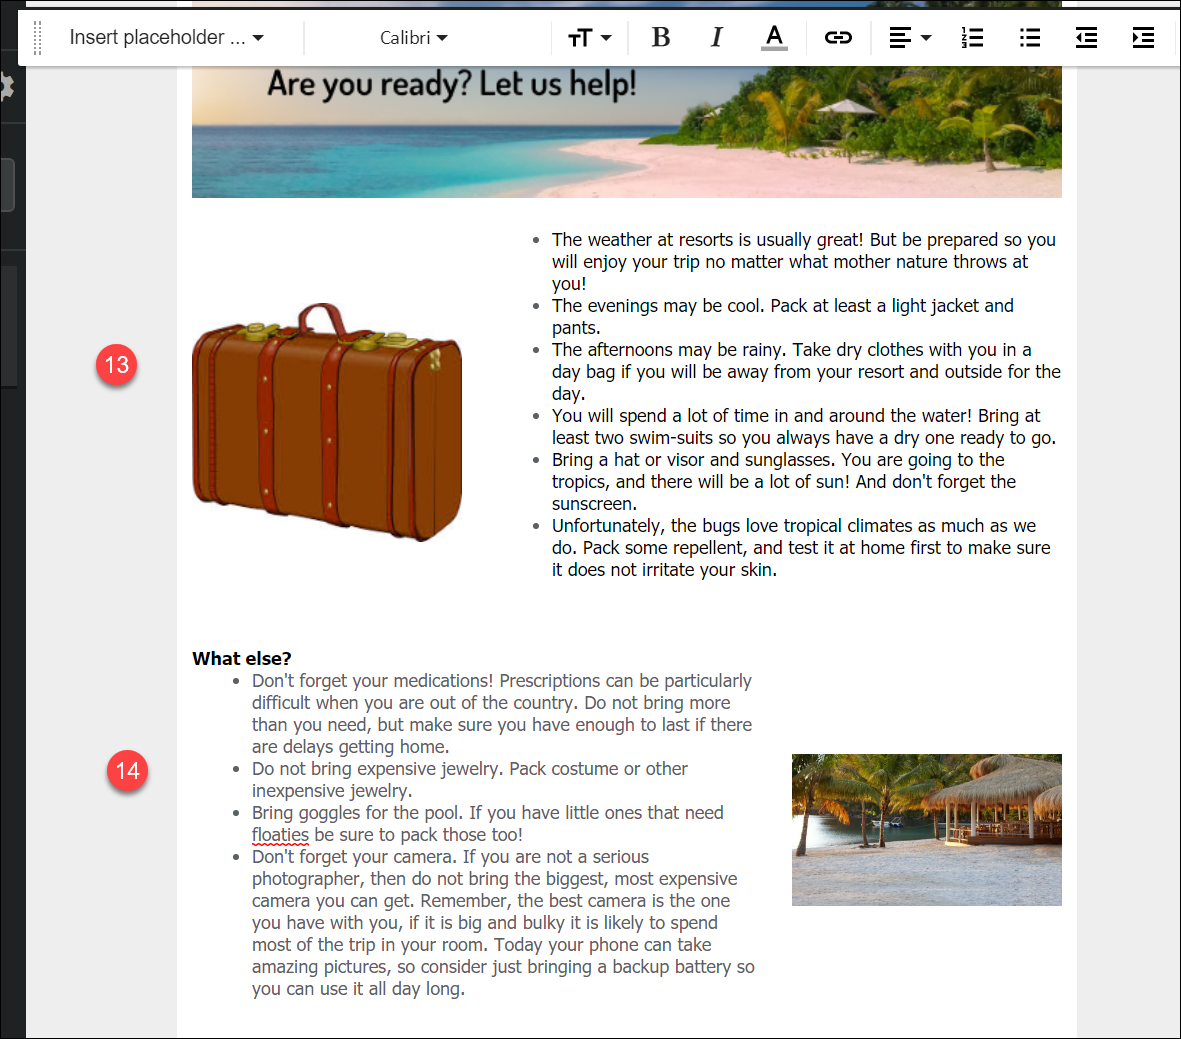
Click Apply. - Drag a "Main Right" grid to your template; it will be placed where the blue line shows up.
Drag an Image widget to the left column and a Text widget to the right column.
Choose an image, just like the previous step. Add some text and experiment with adding bold text, bullets, and other formatting in the toolbar. - Now drag a Main Left grid and set one up with the opposite spacing.
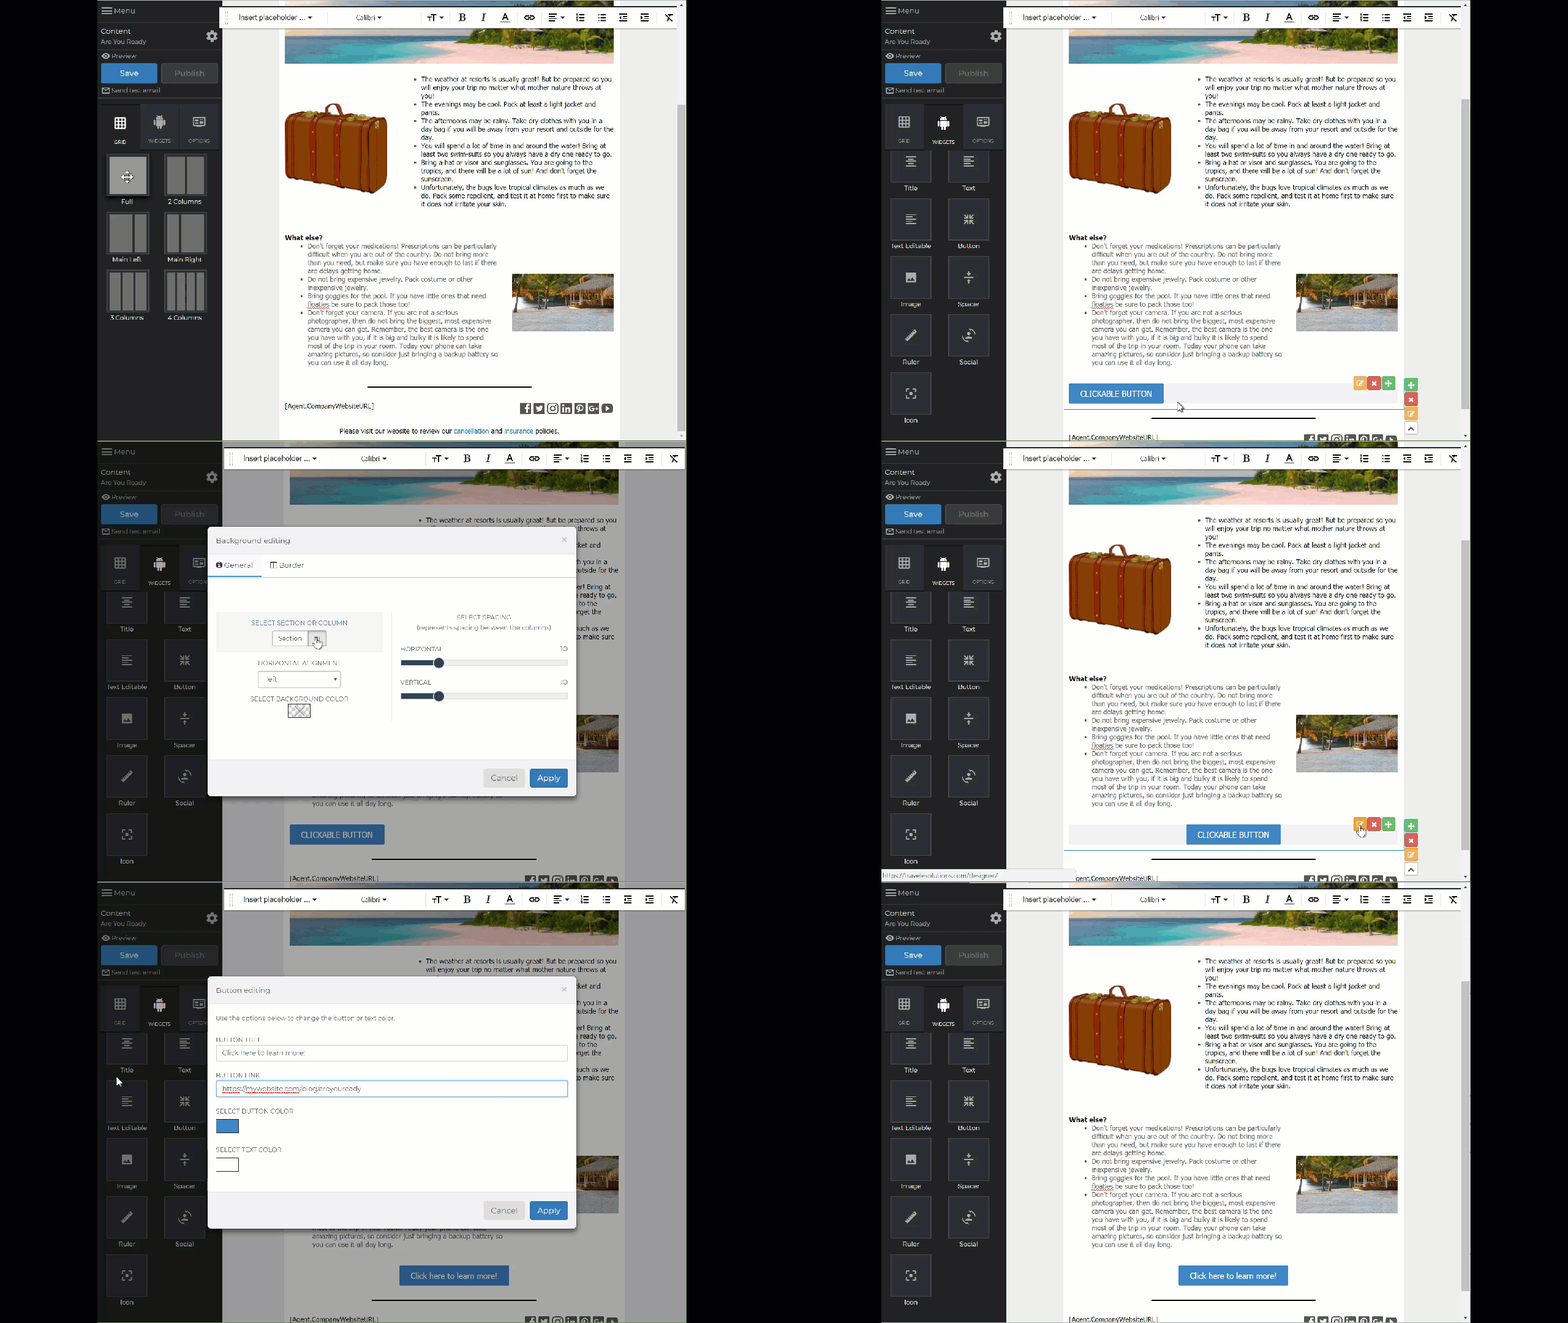
- Finally, add another full grid and drop a Button widget in it.
Select the edit button on the right then choose the #1 column to set the alignment to Center.
Select the edit button at the top, add custom text and a custom URL.
Remember that these are just examples! Experiment and be creative. Create a template that is unique to your style.
Be sure that you have a good mix of text and images for best deliverability.
Related Articles
Create a Trip Extension
Start Your Extension From the main menu under My Account, click Workspace Extensions. Click Add Workspace Extension. Name your Extension. You can have as many Extensions as you want and may have more than one on a trip so be sure to give them useful ...Template Editable Widgets
Get Started Tip We are using an Invoice for this example, but this can be applied to any email template. For more details on creating templates review the documentation here: https://docs.trytess.com/automation/traveling-emails/ Information This ...Frequently Asked Questions
You have questions? We have answers! If your questions isn't here, send it to us!! General Q: Is the system down? A: No. Ok...probably no. We do occasionally take the system down when we are adding new features. Otherwise, it is available 24/7. We ...Trip Extensions
Add an Automatic Extension to a Trip In this section, we can see that the extension we created was added automatically because the trip is a vacation and a resort. This configuration is specific to one of our demo companies; your settings will be ...Convert To and From Groups
Convert a Standard Trip Into a Group Reservation Start with a standard trip you will be moving and a group trip you will move into. Click on the trip description in the standard trip to open it. Click here for more information on creating a group ...